 Preview · the opening mission
Read this to the class:
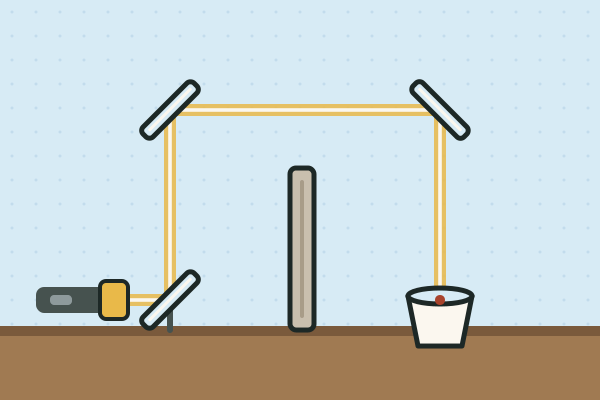
The caretaker's cupboard at Nadia's school has no window. The caretaker needs light on a shelf at the back, but the only window is round a corner and there is a wall in the way. "Use mirrors," says Nadia. "But where do I put them?" asks the caretaker. "You can't just guess. Light has rules." Your team's job: find the rule for how a mirror bounces light, then use it to steer a beam round a wall to a target.
Teams of three, with rotating jobs: Beam Holder (holds the flashlight), Mirror Keeper (stands and adjusts the mirror), Marker (marks dots and measures angles).
Look inside the PDF
Sample pages, stamped “preview”. The download is the clean, full lesson.
In the full lesson PDF
- Predict (5–10 min)
- Hunt (20 min)
- Reveal (10–15 min)
- Act (10 min)
- Background for the teacher
- Assessment
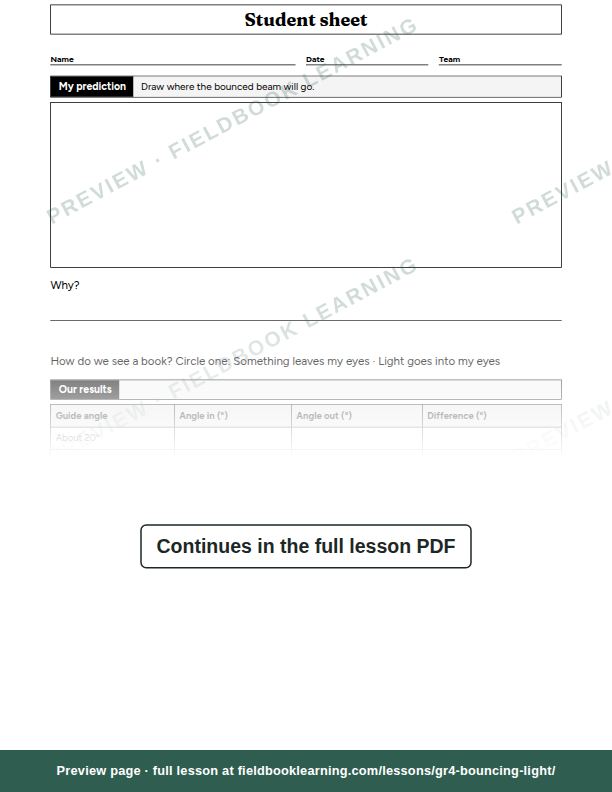
- Student sheet
- Worksheet: Label it
- Worksheet: Try it at home
On the student sheet
- My prediction
- Our results
- What we kept the same, and what we changed
- Our light maze
- How we see a tree
- Exit ticket
- Label it
- Try it at home
US Letter, prints cleanly in black and white. The student sheet is on its own page, ready to photocopy.
Free with an account (any 3 lessons), or US$19 / C$25 for all 3 lessons in this unit.
What students show by the end
- Measures angles carefully
- Finds the pattern
- Explains how we see
From the lesson’s rubric, which scores each one as not yet, getting there or got it.
Questions teachers ask
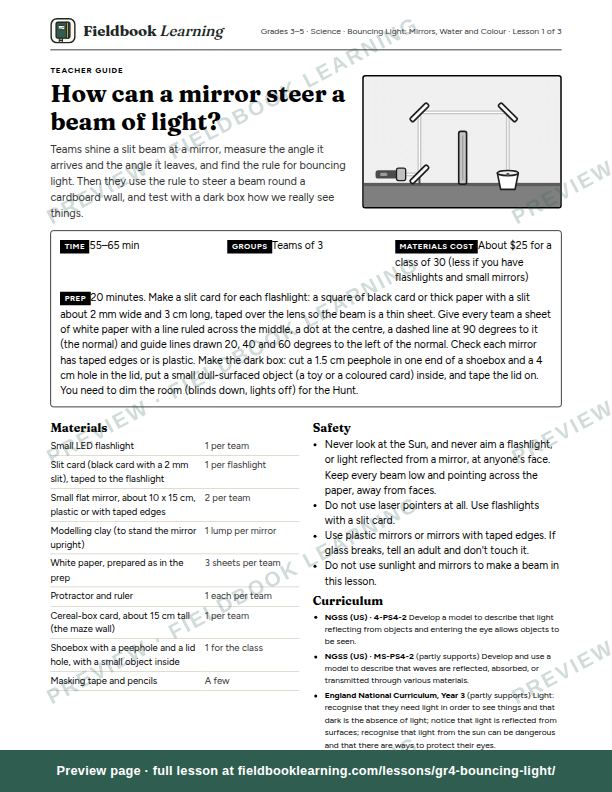
How long does “How can a mirror steer a beam of light?” take?
55–65 min. Group size: teams of 3.
How much prep does it need?
20 minutes. Make a slit card for each flashlight: a square of black card or thick paper with a slit about 2 mm wide and 3 cm long, taped over the lens so the beam is a thin sheet. Give every team a sheet of white paper with a line ruled across the middle, a dot at the centre, a dashed line at 90 degrees to it (the normal) and guide lines drawn 20, 40 and 60 degrees to the left of the normal. Check each mirror has taped edges or is plastic. Make the dark box: cut a 1.5 cm peephole in one end of a shoebox and a 4 cm hole in the lid, put a small dull-surfaced object (a toy or a coloured card) inside, and tape the lid on. You need to dim the room (blinds down, lights off) for the Hunt.
What materials do I need?
Small LED flashlight; slit card (black card with a 2 mm slit), taped to the flashlight; small flat mirror, about 10 x 15 cm, plastic or with taped edges; modelling clay (to stand the mirror upright); white paper, prepared as in the prep; protractor and ruler; and 3 more. Cost: about $25 for a class of 30 (less if you have flashlights and small mirrors).
Which curriculum standards does it cover?
NGSS (US): 4-PS4-2 and MS-PS4-2 (partly). It also matches England National Curriculum, Year 3; England National Curriculum, Year 6 and Cambridge Primary Science and Lower Secondary Science (not endorsed by Cambridge).
What’s in the lesson PDF?
A teacher guide that walks you through predict, hunt, reveal, act, background for the teacher and assessment, then a student sheet (“My prediction”; “Our results”; “What we kept the same, and what we changed”; “Our light maze”; “How we see a tree”; “Exit ticket”; “Label it” and “Try it at home”) on its own page, ready to photocopy. It’s US Letter and prints cleanly in black and white.
Can I try it for free?
Yes. A free account includes any 3 full lessons of your choice, and this can be one of them. After that, this unit is US$19 (C$25) for all 3 lessons, yours to keep, or every lesson is US$79 (C$109) a year.