 Preview · the opening mission
Read this to the class:
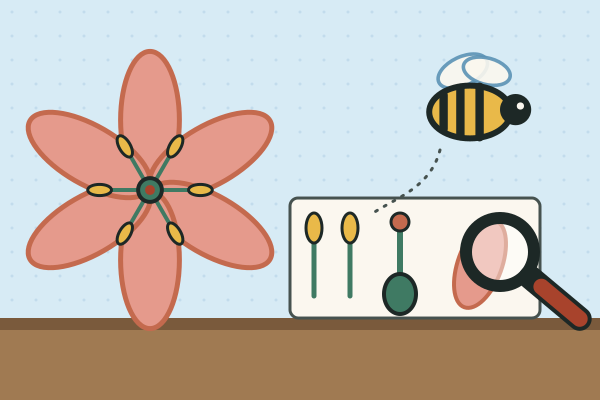
Every morning, Kofi finds bees buzzing around the pumpkin flowers in his family's garden. His sister says the bees are stealing from the flowers. Kofi says the flowers are paying the bees. Who is right? Nobody can say until they look inside a flower. Your team's job: take a flower apart, find every part, and work out what each part does for the plant.
Teams of three, with rotating jobs: Dissector (takes the parts off gently), Lens Keeper (looks closely and describes), Recorder (draws, counts and writes).
Look inside the PDF
Sample pages, stamped “preview”. The download is the clean, full lesson.
In the full lesson PDF
- Predict (5–10 min)
- Hunt (20–25 min)
- Reveal (10–15 min)
- Act (10 min)
- Background for the teacher
- Assessment
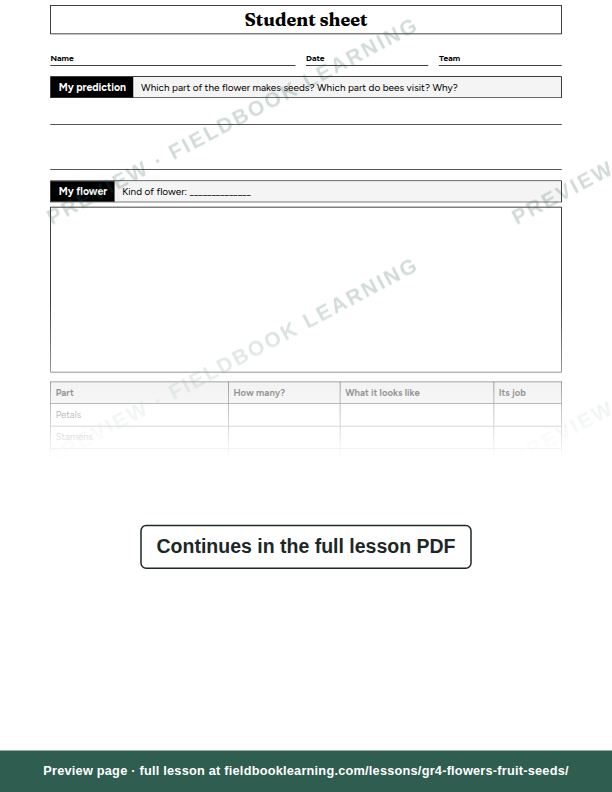
- Student sheet
- Worksheet: Label it
- Worksheet: Try it at home
On the student sheet
- My prediction
- My flower
- Be the bee
- What we kept the same, and what we changed
- A flower for one visitor
- Exit ticket
- Label it
- Try it at home
US Letter, prints cleanly in black and white. The student sheet is on its own page, ready to photocopy.
Free with an account (any 3 lessons), or US$19 / C$25 for all 3 lessons in this unit.
What students show by the end
- Finds and names the parts
- Explains pollination
- Tests fairly
From the lesson’s rubric, which scores each one as not yet, getting there or got it.
Questions teachers ask
How long does “What is a flower really for?” take?
50–60 min. Group size: teams of 3.
How much prep does it need?
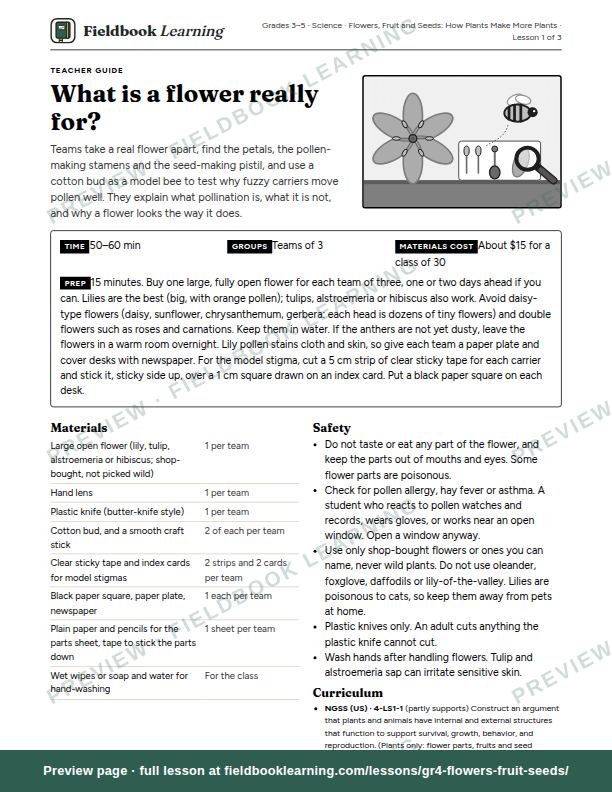
15 minutes. Buy one large, fully open flower for each team of three, one or two days ahead if you can. Lilies are the best (big, with orange pollen); tulips, alstroemeria or hibiscus also work. Avoid daisy-type flowers (daisy, sunflower, chrysanthemum, gerbera: each head is dozens of tiny flowers) and double flowers such as roses and carnations. Keep them in water. If the anthers are not yet dusty, leave the flowers in a warm room overnight. Lily pollen stains cloth and skin, so give each team a paper plate and cover desks with newspaper. For the model stigma, cut a 5 cm strip of clear sticky tape for each carrier and stick it, sticky side up, over a 1 cm square drawn on an index card. Put a black paper square on each desk.
What materials do I need?
Large open flower (lily, tulip, alstroemeria or hibiscus; shop-bought, not picked wild); hand lens; plastic knife (butter-knife style); cotton bud, and a smooth craft stick; clear sticky tape and index cards for model stigmas; black paper square, paper plate, newspaper; and 2 more. Cost: about $15 for a class of 30.
Which curriculum standards does it cover?
NGSS (US): 4-LS1-1 (partly). It also matches England National Curriculum, Year 3; England National Curriculum, Year 5 and Cambridge Primary Science, Stages 3 and 5 (not endorsed by Cambridge).
What’s in the lesson PDF?
A teacher guide that walks you through predict, hunt, reveal, act, background for the teacher and assessment, then a student sheet (“My prediction”; “My flower”; “Be the bee”; “What we kept the same, and what we changed”; “A flower for one visitor”; “Exit ticket”; “Label it” and “Try it at home”) on its own page, ready to photocopy. It’s US Letter and prints cleanly in black and white.
Can I try it for free?
Yes. A free account includes any 3 full lessons of your choice, and this can be one of them. After that, this unit is US$19 (C$25) for all 3 lessons, yours to keep, or every lesson is US$79 (C$109) a year.