 Preview · the opening mission
Read this to the class:
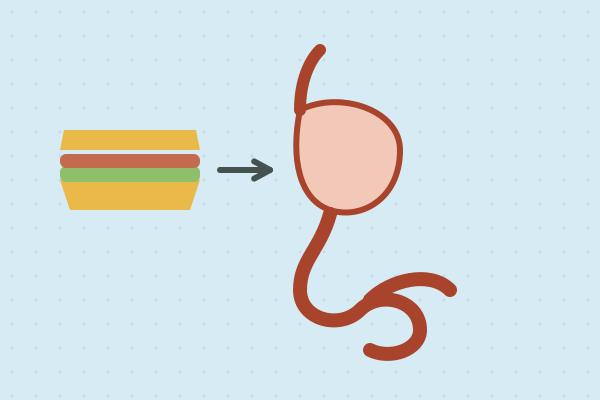
At lunch, Arjun ate a cheese sandwich, an apple and a cup of yoghurt. By the time the bell went, he had forgotten all about it. But his body hadn't. Somewhere inside him, that sandwich was being taken apart, piece by piece, by a long tube that runs from his mouth all the way through him. His cousin says the stomach is where food "melts". His sister says it is "a bag that squashes things". Your team's job: build a model of the whole journey and find out what really happens to lunch.
Teams of three, with three jobs that rotate after each part: Chef (handles the food and the bag), Squeezer (works the model), Recorder (writes and draws).
Look inside the PDF
Sample pages, stamped “preview”. The download is the clean, full lesson.
In the full lesson PDF
- Predict (5–10 min)
- Hunt (20 min)
- Reveal (10–15 min)
- Act (10 min)
- Background for the teacher
- Assessment
- Student sheet
- Worksheet: Label it
- Worksheet: Try it at home
On the student sheet
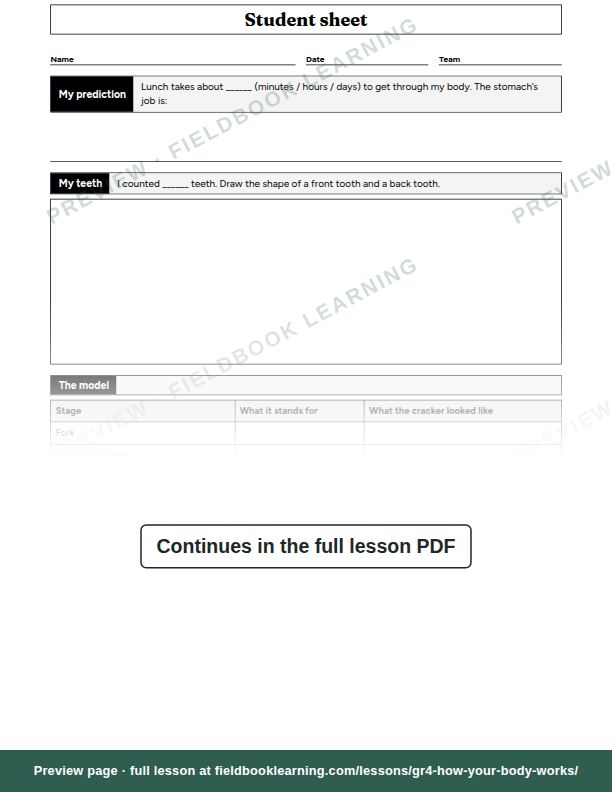
- My prediction
- My teeth
- The model
- What I found
- Note to Arjun
- Label it
- Try it at home
US Letter, prints cleanly in black and white. The student sheet is on its own page, ready to photocopy.
Free with an account (any 3 lessons), or US$19 / C$25 for all 4 lessons in this unit.
What students show by the end
- Builds and reads the model
- Orders the system
- Explains absorption
From the lesson’s rubric, which scores each one as not yet, getting there or got it.
Questions teachers ask
How long does “What happens to your lunch?” take?
45–60 min. Group size: teams of 3.
How much prep does it need?
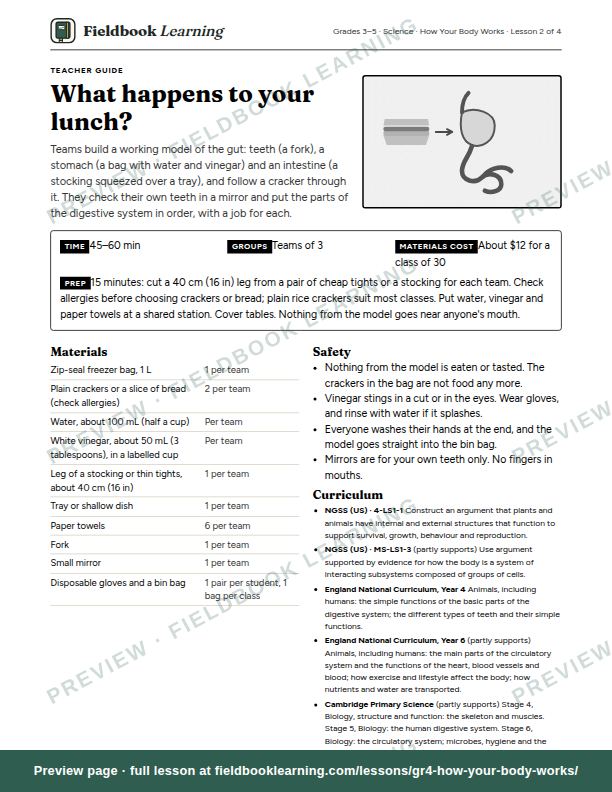
15 minutes: cut a 40 cm (16 in) leg from a pair of cheap tights or a stocking for each team. Check allergies before choosing crackers or bread; plain rice crackers suit most classes. Put water, vinegar and paper towels at a shared station. Cover tables. Nothing from the model goes near anyone's mouth.
What materials do I need?
Zip-seal freezer bag, 1 L; plain crackers or a slice of bread (check allergies); water, about 100 mL (half a cup); white vinegar, about 50 mL (3 tablespoons), in a labelled cup; leg of a stocking or thin tights, about 40 cm (16 in); tray or shallow dish; and 4 more. Cost: about $12 for a class of 30.
Which curriculum standards does it cover?
NGSS (US): 4-LS1-1 and MS-LS1-3 (partly). It also matches England National Curriculum, Year 4; England National Curriculum, Year 6 and Cambridge Primary Science.
What’s in the lesson PDF?
A teacher guide that walks you through predict, hunt, reveal, act, background for the teacher and assessment, then a student sheet (“My prediction”, “My teeth”, “The model”, “What I found”, “Note to Arjun”, “Label it” and “Try it at home”) on its own page, ready to photocopy. It’s US Letter and prints cleanly in black and white.
Can I try it for free?
Yes. A free account includes any 3 full lessons of your choice, and this can be one of them. After that, this unit is US$19 (C$25) for all 4 lessons, yours to keep, or every lesson is US$79 (C$109) a year.